Want to learn how to create the easiest Easter bunny craft for kids step-by-step? This is the tested and approved DIY decoration every Peep should know about.

Decorating for Easter and springtime is extremely exciting, and if you’re anything like me, you’re doing all the research you possibly can to find fun family activities for your kids.
As a pediatric Occupational Therapist myself, I will teach you how to make this super easy Easter bunny craft.
You will learn all about the materials needed to DIY and the step-by-step instructions to re-create the cutest Easter bunny decoration.
After learning how easy and budget-friendly this Easter bunny craft is, you will feel inspired and confident in your DIY decoration skills.
This post is about the easiest DIY Easter bunny crafts for kids.
DIY Easter Bunny Craft
Disclosure: There are some affiliate links below, and I may receive commissions for purchases made through links in this post, but these are all products I highly recommend. I won’t put anything I haven’t verified or personally used on this page. This is all at no extra cost to you but helps support my small business.
Materials:
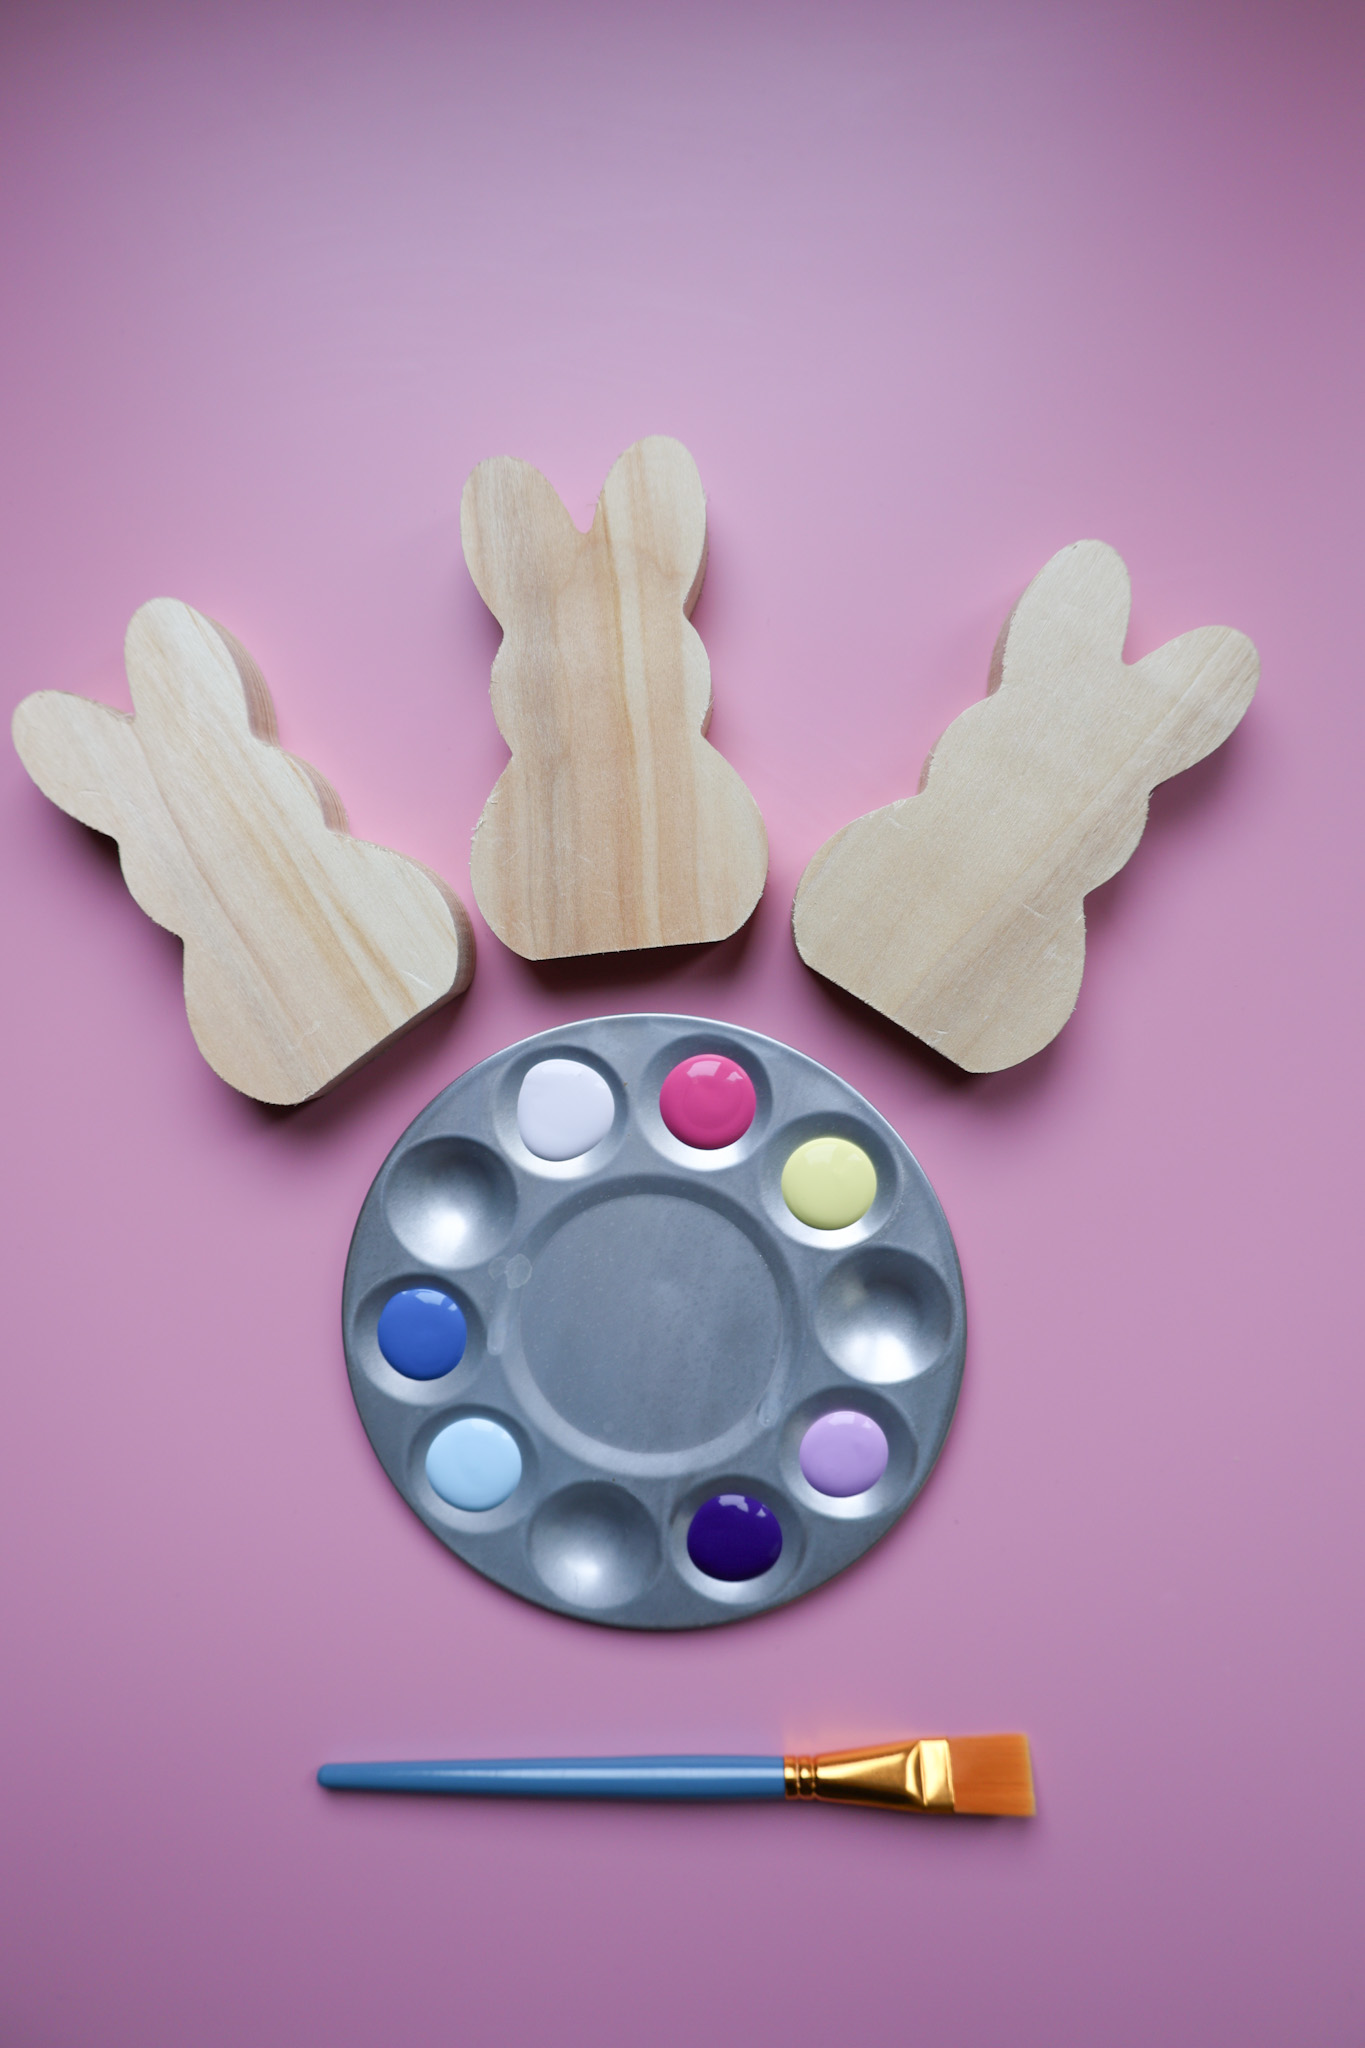
To re-create this super simple DIY Easter bunny craft, here is a list of materials to get you started:
- Wooden Easter bunnies
- Fine Tip Paintbrush
- Paintbrush (1″)
- Paint Palate
- Modge Podge
- Sanding Blocks (optional)
- Glitter (optional)
- Water Cup (optional)
Crafter’s Collection Paint Colors
You can choose any pastel color you want, but here are the Crafter’s Collection water-based acrylic paint colors utilized:
- Earth Brown for the eyes
- Fuchsia + Pearl Ash
- Light Purple
- Southern Bluebell
1. Set Up the Environment for Success
That is an option if you choose to sand the wood before painting. I didn’t do it, so it’s not the end of the world if you prefer to start painting first.
Lay the wooden bunnies on a flat surface that can get messy.

2. Add Paint to the Palette & the Bunnies
Add your desired paint color to the paint palette.

Apply the first coat of paint to each wooden bunnies using the larger paintbrush.
The paint can build up along the edges, so smooth them before it dries to prevent lumps.
Don’t forget to wash your paintbrushes so the bristles remain clean.

Repeat this process 2-3x to add additional paint coats to make the color more vibrant.
Ensure the paint dries thoroughly between each coat.
3. Paint the Eyes & Bunny Nose
Add the brown paint to your paint palette.

Dip the fine-tip paintbrush into the brown paint and add two circles for the eyes and one circle for the bunny nose (1-2 coats of paint).

If you want to sprinkle glitter to mimic the sugar on the Peeps, do so before adding the Modge Podge.
4. Add the Modge Podge
Once the paint is completely dry, apply the Modge Podge onto the wooden bunnies as a protectant.

Allow the Modge Podge to dry.
Congratulations! The super-easy, four-step process to create your DIY Easter bunnies is complete.
Decoration Display Ideas:
You can proudly showcasing your Easter bunny Peeps with the following ideas:
- Bookshelf decoration
- Centerpieces on the dining room table
- Fireplace mantle
- Nightstand
- Window shelf
Free Printable Easter Bunny Craft Checklist
Sign up for my newsletter if you want a FREE printable Easter bunny craft checklist.

Get ready to hop into Easter fun with this Easy DIY Easter Bunny Craft Checklist!
This FREE checklist has everything you need to create an adorable Easter bunny craft with your kids.
Download your free checklist today and make this Easter extra creative!